Easy Tractor Drawing: Let's Get Rolling!
Tractors! Amazing machines that power our farms and help feed the world. They're pretty cool, right? Ever wondered how to draw one? Grab your pencils and crayons because we're about to embark on a fun drawing adventure! This guide is perfect for all ages – even if you think you can't draw a straight line, you'll be surprised what you can create! For more detailed tractor drawing guides, check out this helpful resource. Did you know that choosing the right tractor for a small farm involves considering fuel efficiency and horsepower? We'll touch on that later!
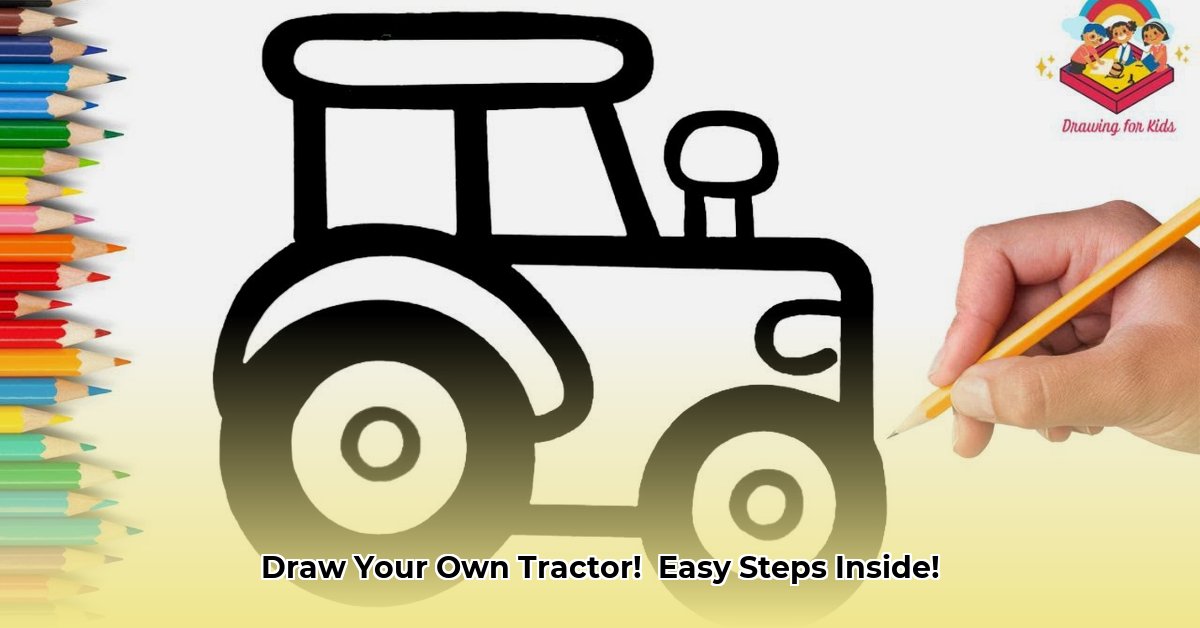
Step-by-Step Tractor Drawing (Beginner Level)
This is a super-easy method, perfect for little ones. Let's build a simple tractor!
- The Body: Draw a long rectangle for the tractor's main body. Make it a bit wider at the bottom. (Think of a slightly squashed box!)
- The Wheels: Add two large circles at each end of the rectangle. These are the back wheels.
- The Front Wheels: Draw two smaller circles in front, closer together. (Like smaller versions of the back wheels!)
- The Cab: Draw a smaller square or rectangle on top of the main body. This is where the driver sits.
- The Exhaust Pipe: Add a small, curved line sticking up from the back of the main body. (Like a tiny chimney!)
- Finishing Touches: Color your tractor! Use bright colors – red, blue, green – whatever you like!
Step-by-Step Tractor Drawing (Intermediate Level)
Let's add some detail! This will make your tractor look even more realistic.
- Start with the Base: Draw a slightly more complex rectangular body, making it a little wider at the back. Now, draw an angled line from the top-right and top-left corners towards the rear, creating an angled roof. (Just like a real tractor cab!)
- Wheels and Tires: This time, let's give our wheels some depth! Draw a smaller circle inside each of the large circles for the tires and add small lines to indicate the tire treads. (These details add realism and texture!)
- The Cab Details: Add windows to the cab, a simple door, and even a small steering wheel if you're feeling artistic. Try drawing simple rectangular shapes for details.
- The Front: Draw a small triangle connecting the front wheels. (This represents the front axle.) You can add a hitch if you like. (A hitch is what connects a trailer to the tractor)
- Engine Details: Add a small rectangle under the cab and suggest an engine with some simple lines and curves. (This adds a touch of mechanical detail!)
- Finishing Touches: Now add a more detailed exhaust pipe and remember to color it in!
Things to Consider When Choosing a Tractor
Choosing the right tractor is crucial, especially for sustainable farming! What are the key factors? Let's delve a bit deeper! Did you know that fuel efficiency is a major consideration, especially for smaller farms?
- Horsepower: How much power do you need? For small farms, a 40-75 hp tractor is often sufficient. (Horsepower measures the engine's power.)
- Fuel Efficiency: Look for features that help reduce fuel consumption. (This saves money and is better for the environment!)
- Implement Compatibility: Make sure you can attach the tools (tillers, loaders, etc.) you need.
- Budget: Consider the cost of a new tractor versus leasing or buying a used one.
Remember, even small details can make a big difference in your drawing. Experiment, have fun and let your imagination run wild! You're well on your way to creating amazing tractor art! Remember, tractors are the amazing workhorses of agriculture, and your drawing is a celebration of their importance.